How to make multi-depth foam pockets for tools
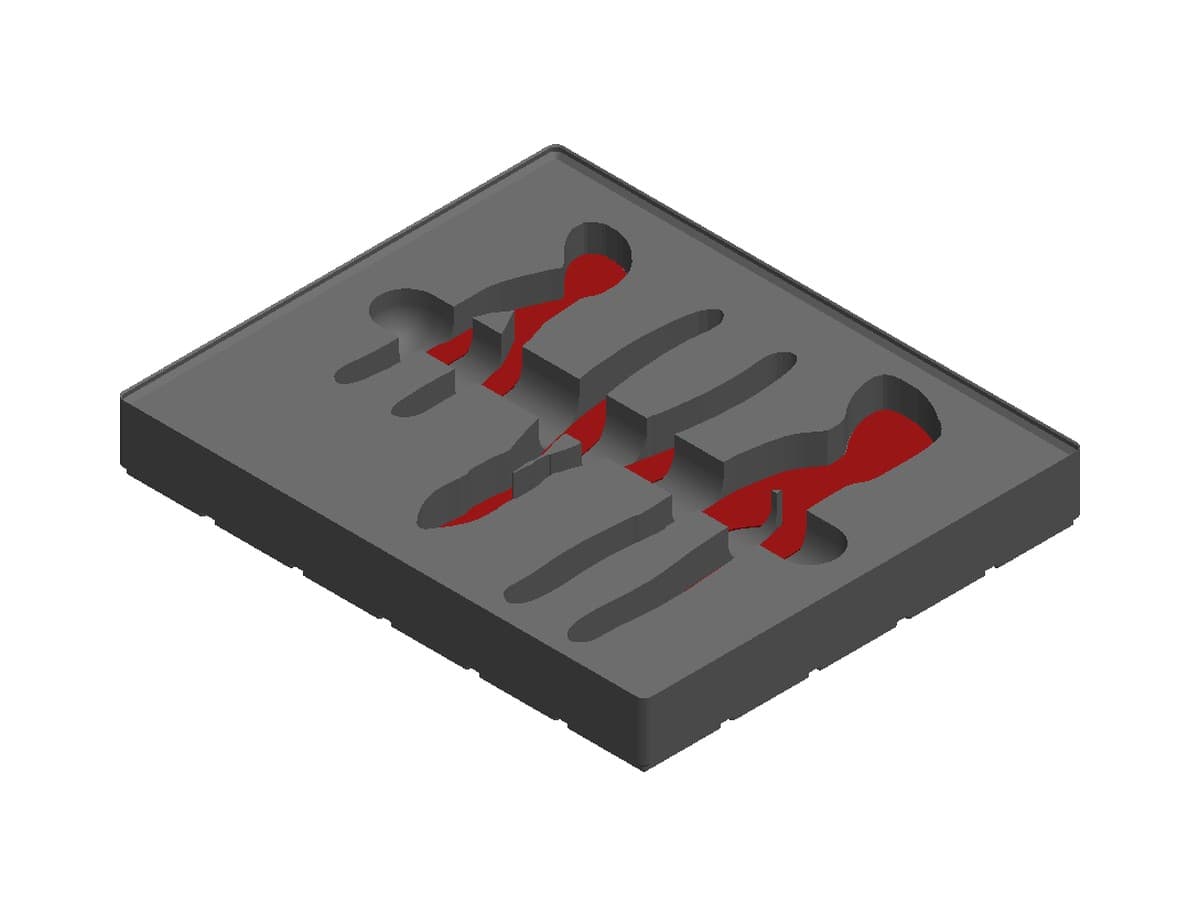
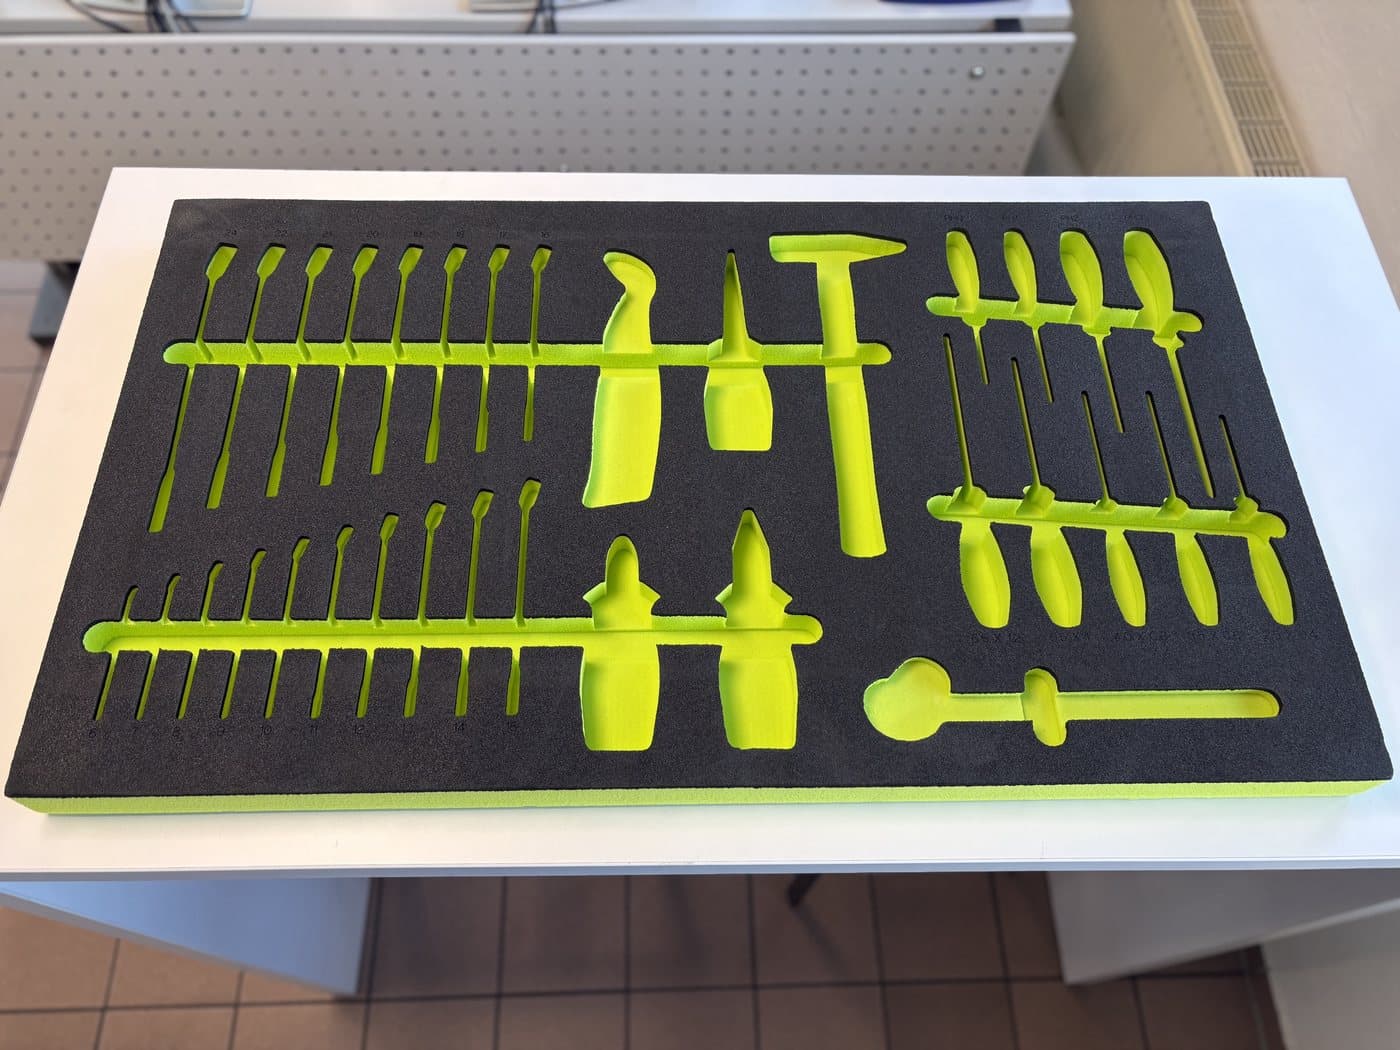
Tools with a thick handle and a thin shaft need a stepped pocket. How to give one foam or Gridfinity pocket more than one depth so every tool sits right.
This guide assumes you have already scanned your tools or identified which tools you would like to use from the Lumashape database within the layout editor.
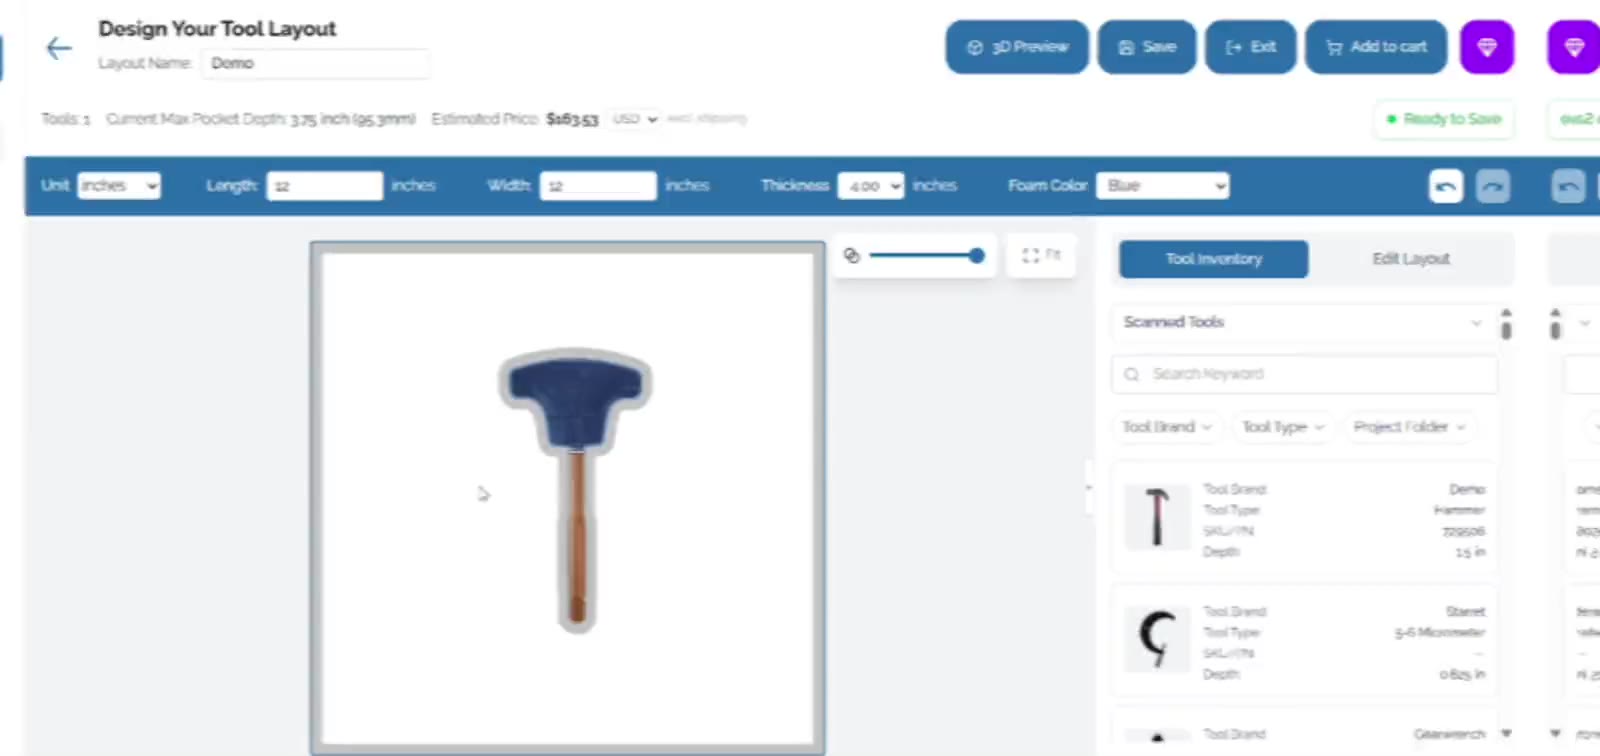
Most tools aren't one thickness from end to end. A T-handle driver is thick at the handle and thin at the shaft. With a single pocket depth, either the shaft sits loose at the bottom of a deep pocket or the handle sits too high. Multi-depth pockets fix this by giving each part of the tool its own depth.
1. Open Edit depth
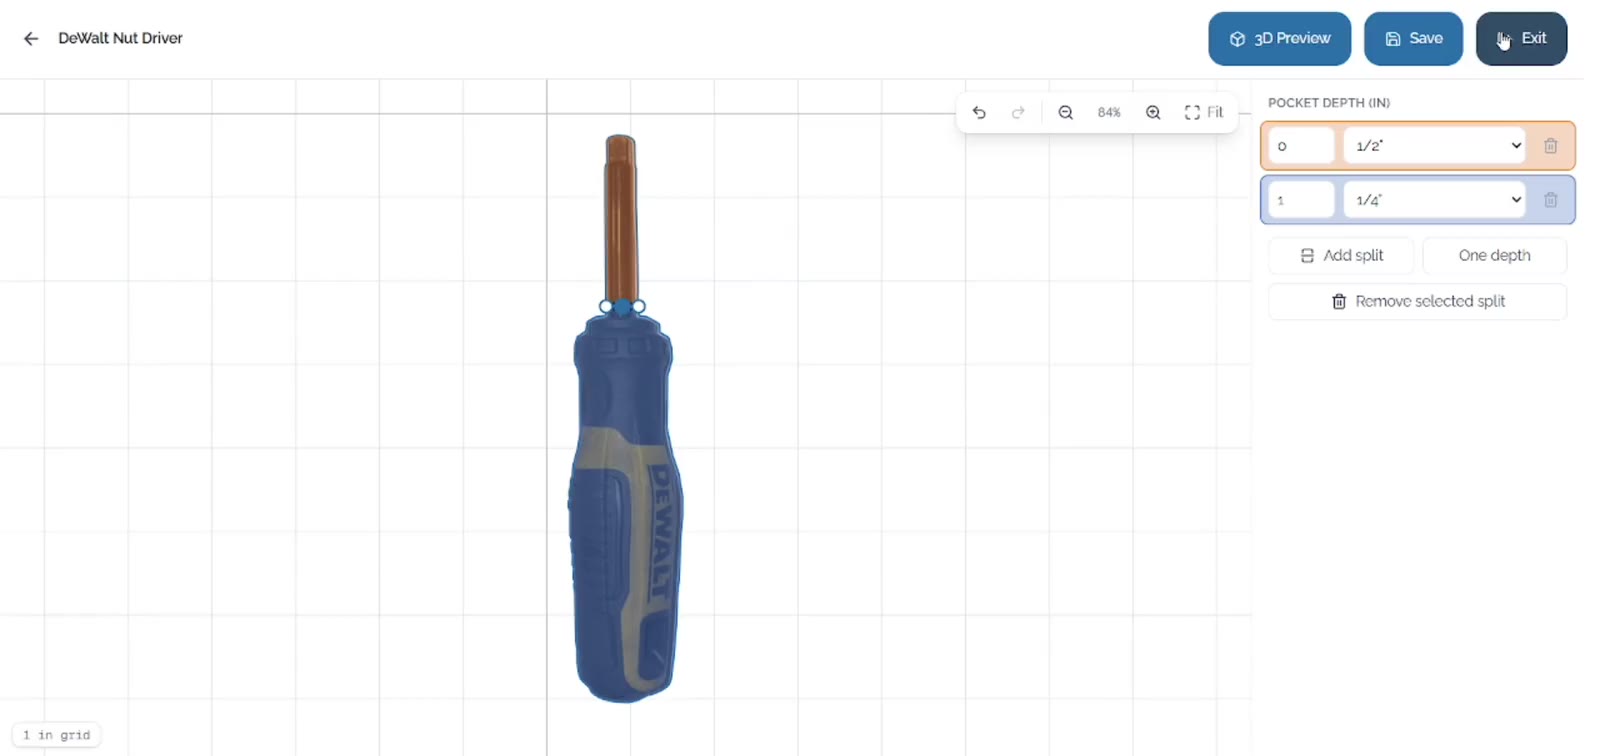
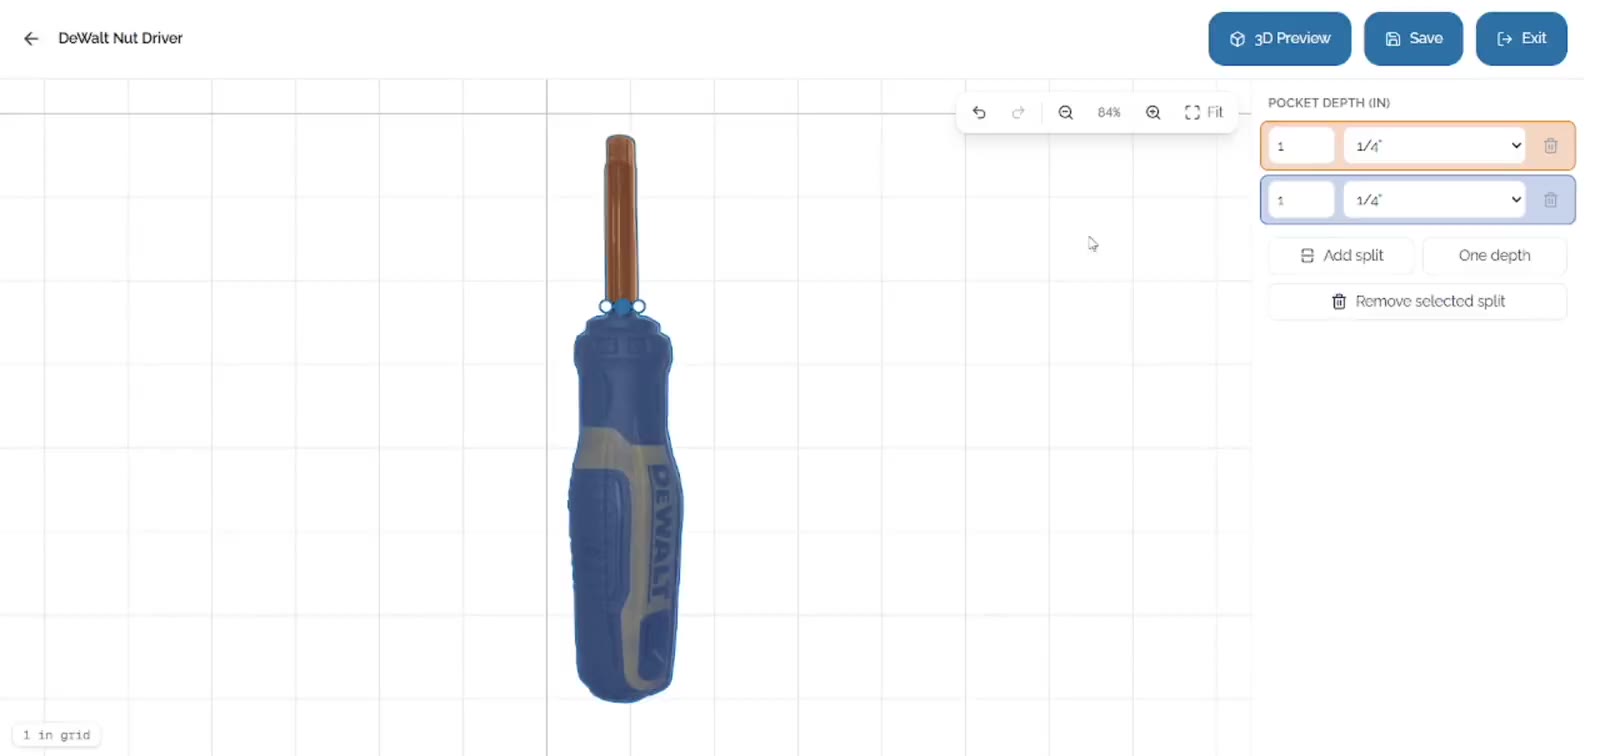
In the layout editor, click the tool to open its Tool Properties, then click Edit depth. The depth editor opens full screen with the tool's photo and outline.
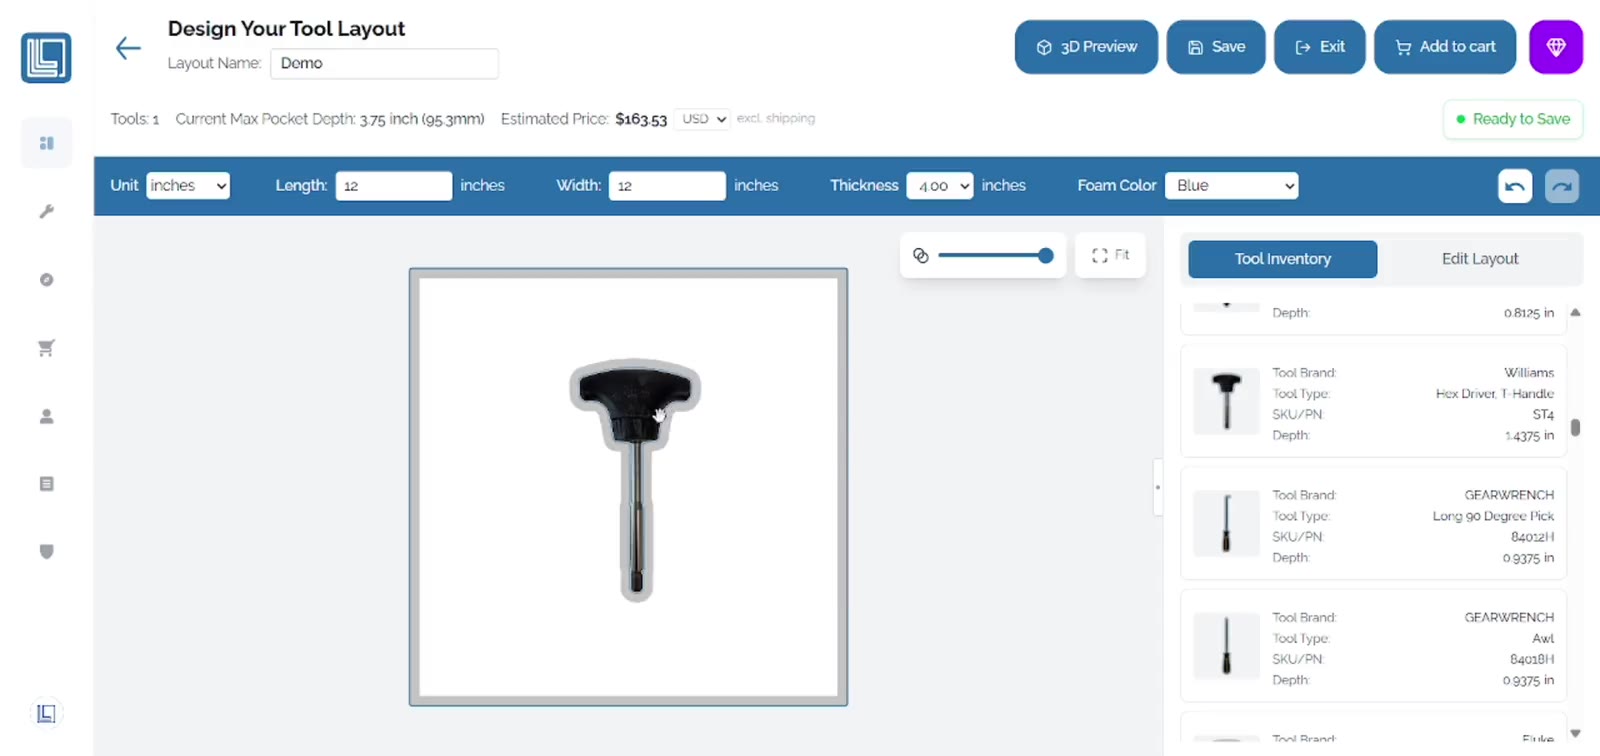
2. Add a split
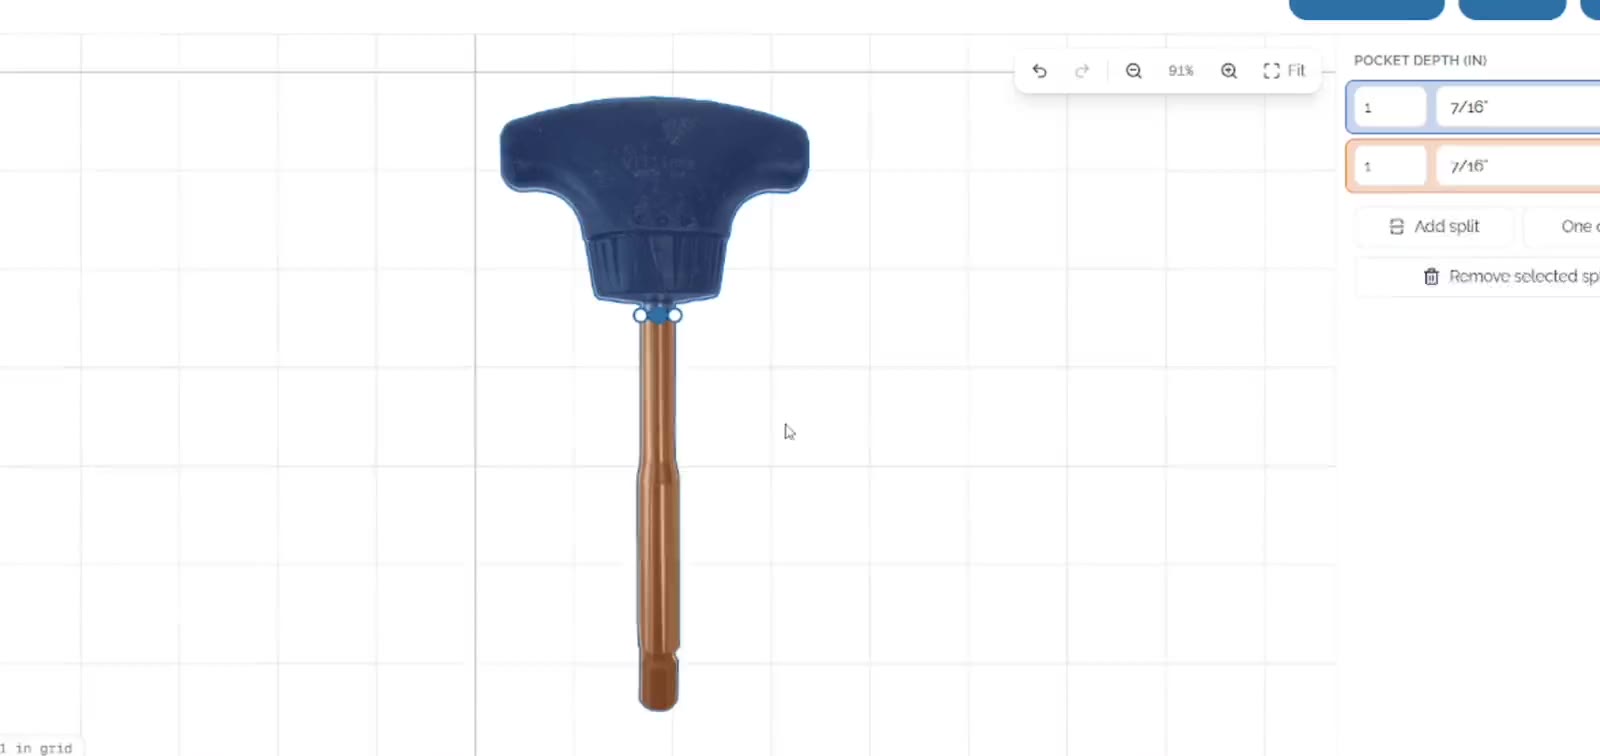
Click Add split. A line appears across the tool and the pocket is divided into two sections. Drag the line to where the tool changes shape, such as where the handle meets the shaft. Drag the handles at either end of the line to angle it. You can add up to four splits for a tool.
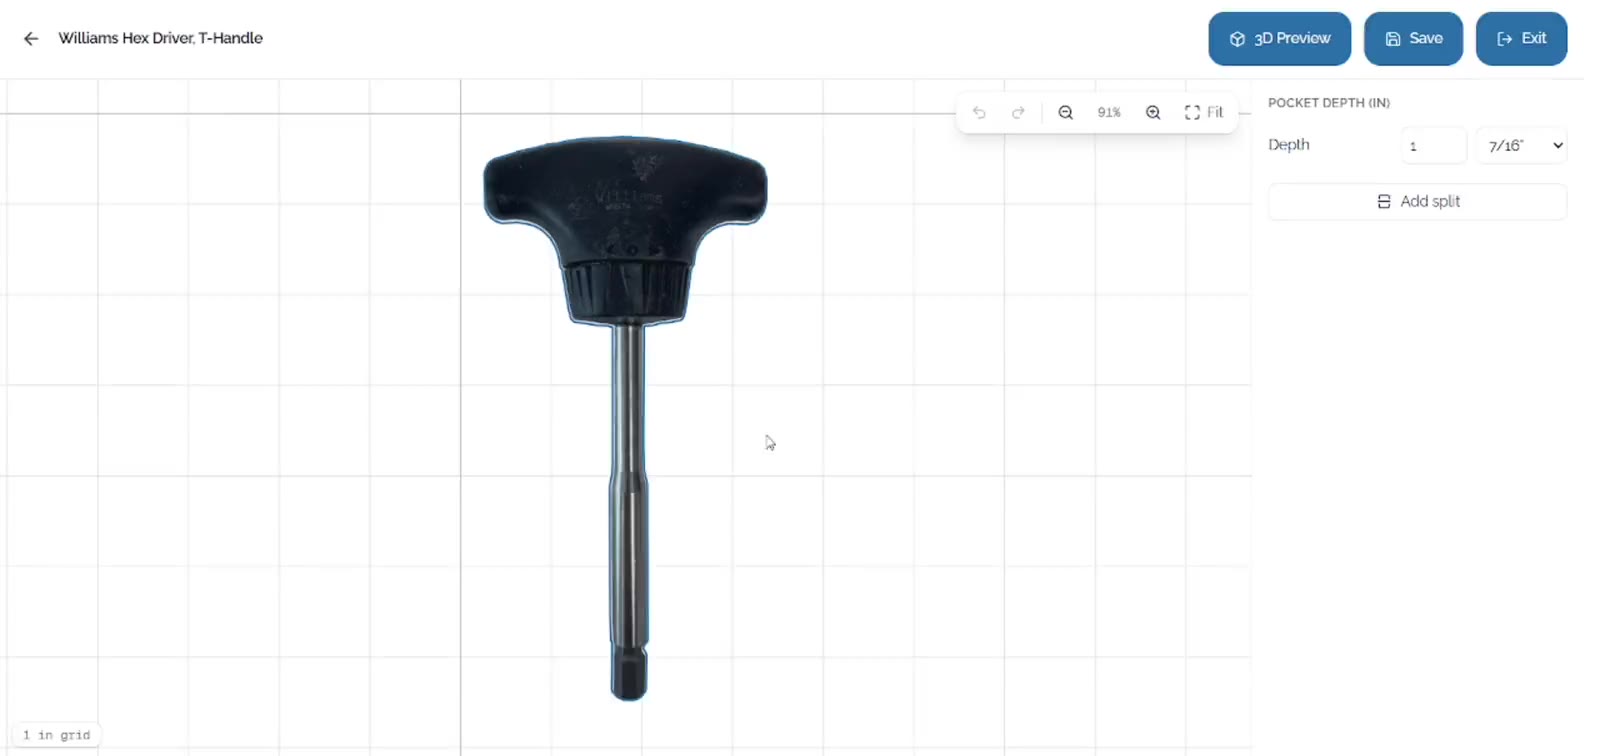
3. Set a depth for each section
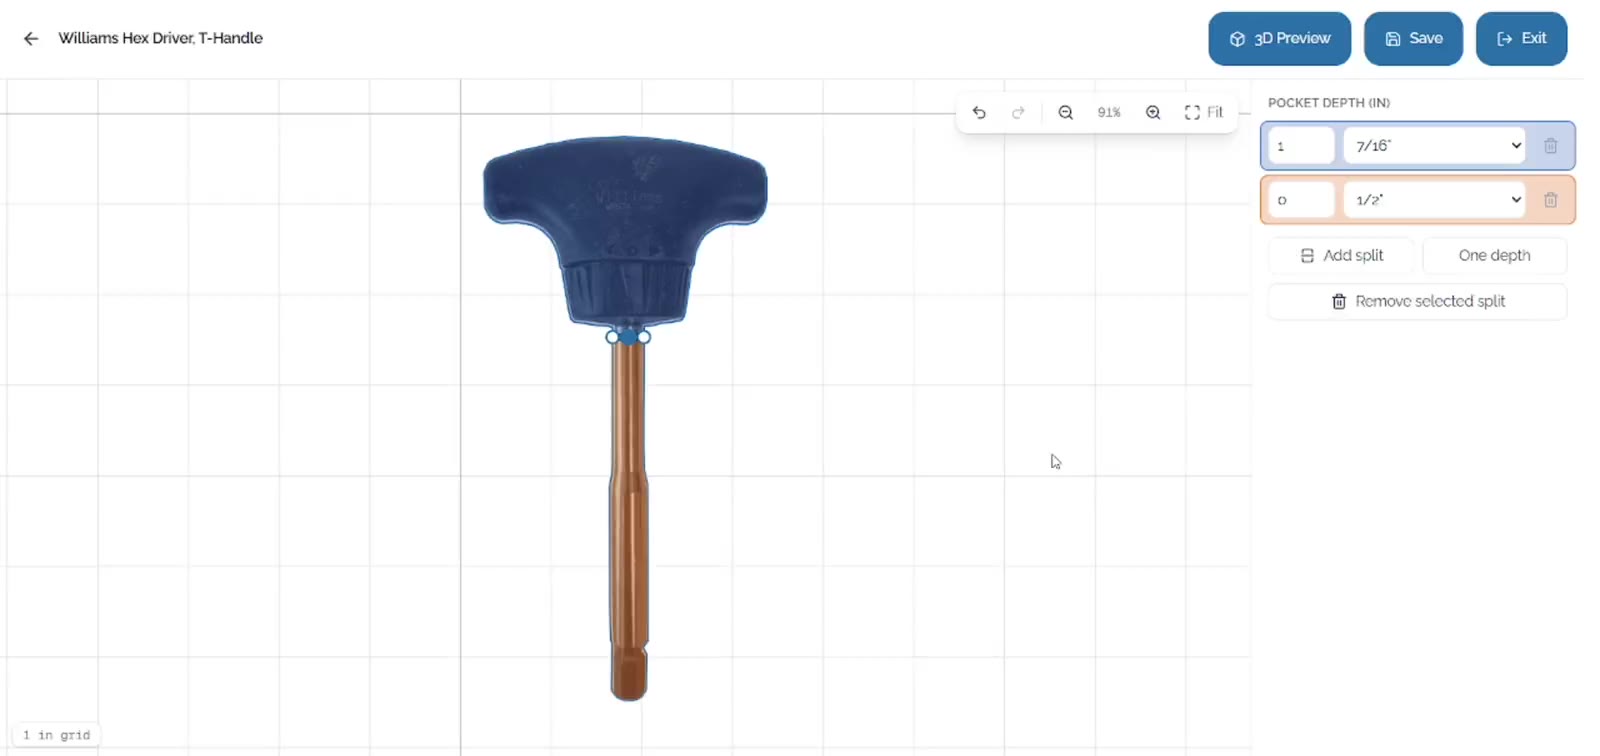
Each section gets its own row under Pocket depth, colored to match the section on the tool. Enter a depth for each one. In this example the handle is cut 1 7/16" deep and the shaft 1/2" deep.
To remove a split, click it and then click Remove selected split. To go back to a single depth for the whole tool, click One depth.
4. Check it in 3D and save
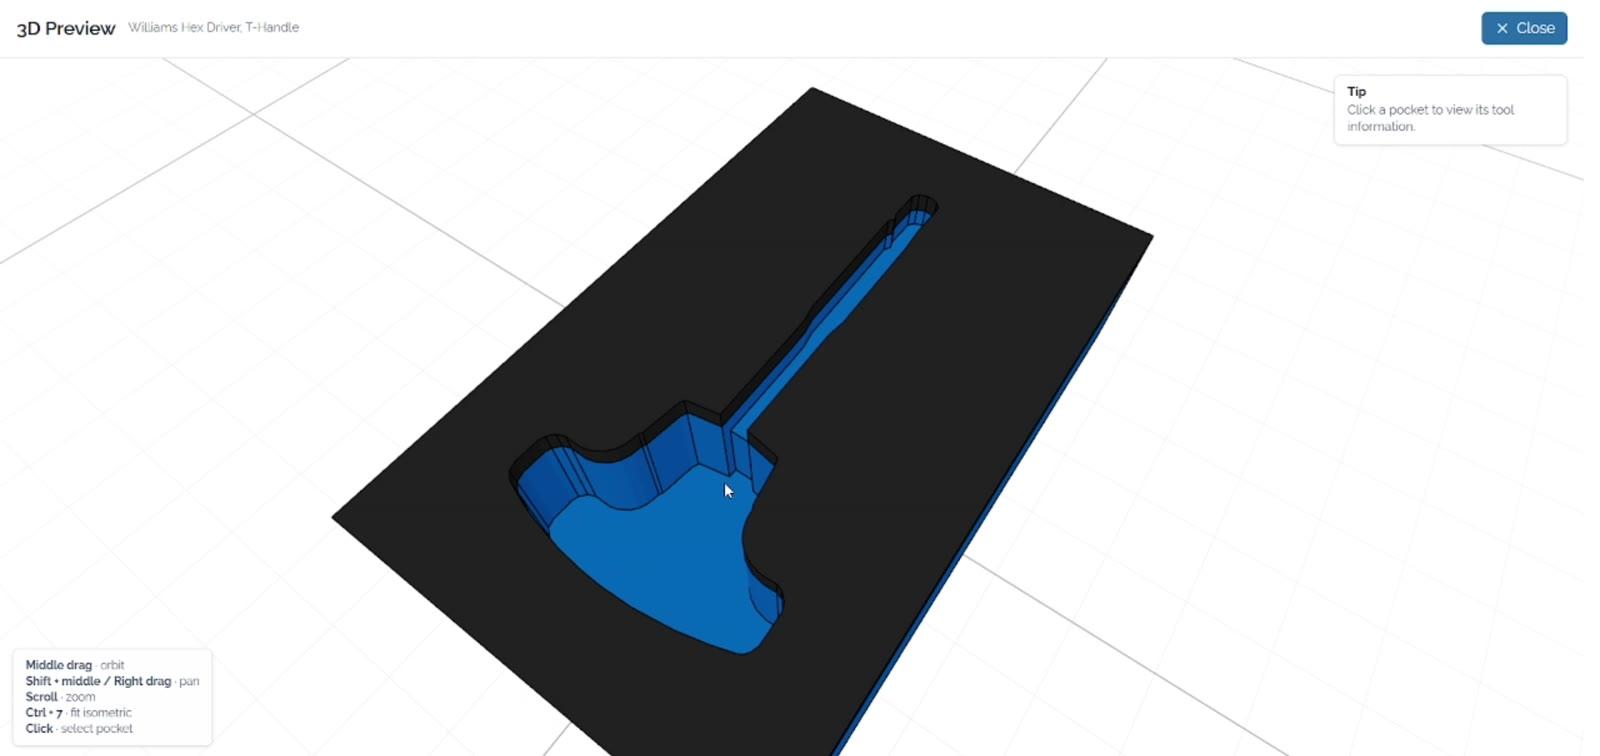
Click 3D Preview to see the stepped pocket before you save. Turn the model around to check that each section is cut where you want it. Then close the preview and click Save.
5. Use the tool in other layouts
The depths are saved with the tool, not the layout. Drag the same tool into any other layout and its pocket comes in with the same sections and depths. Open 3D Preview there to see it.
If you set a tool to a Local depth in a layout, that layout cuts the whole pocket at that one depth.
6. Set depths from Tool Inventory
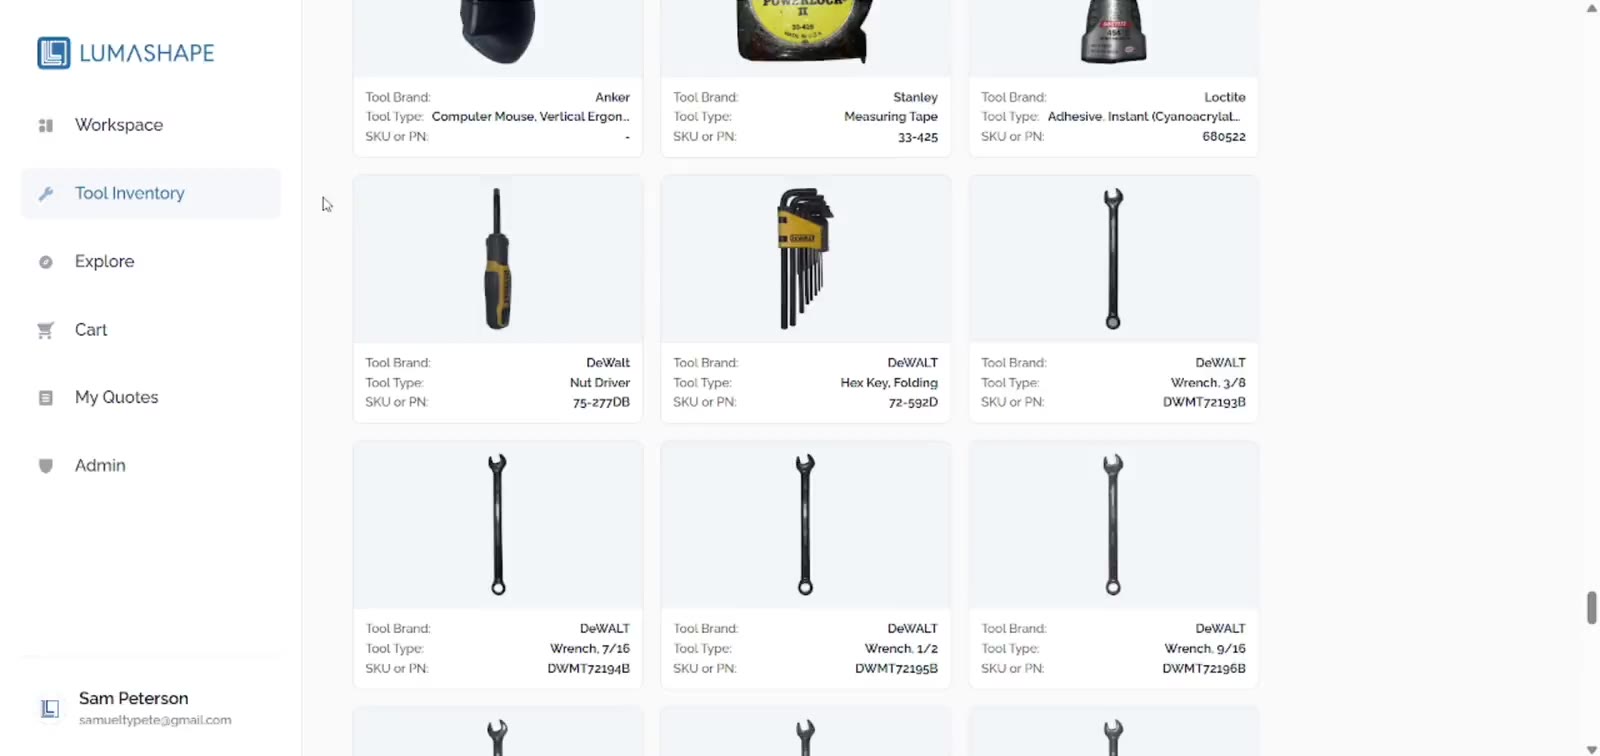
You don't have to open a layout to do this. Go to Tool Inventory, click a tool, and choose Edit. On the Edit tool page, click Edit depth and add your splits the same way.
Set a depth for each section and check it with 3D Preview.
7. Check which layouts will change
A change to a tool reaches every layout that uses it. When the tool is already in one or more layouts, clicking Save first shows This tool is used in N layouts, with a list of those layouts.
- Click Inspect layout to open a layout and look it over. When you come back, the window opens again with your changes still there.
- Click Apply changes to save the new depths to the tool and every layout in the list.
- Click Cancel to keep editing without saving.