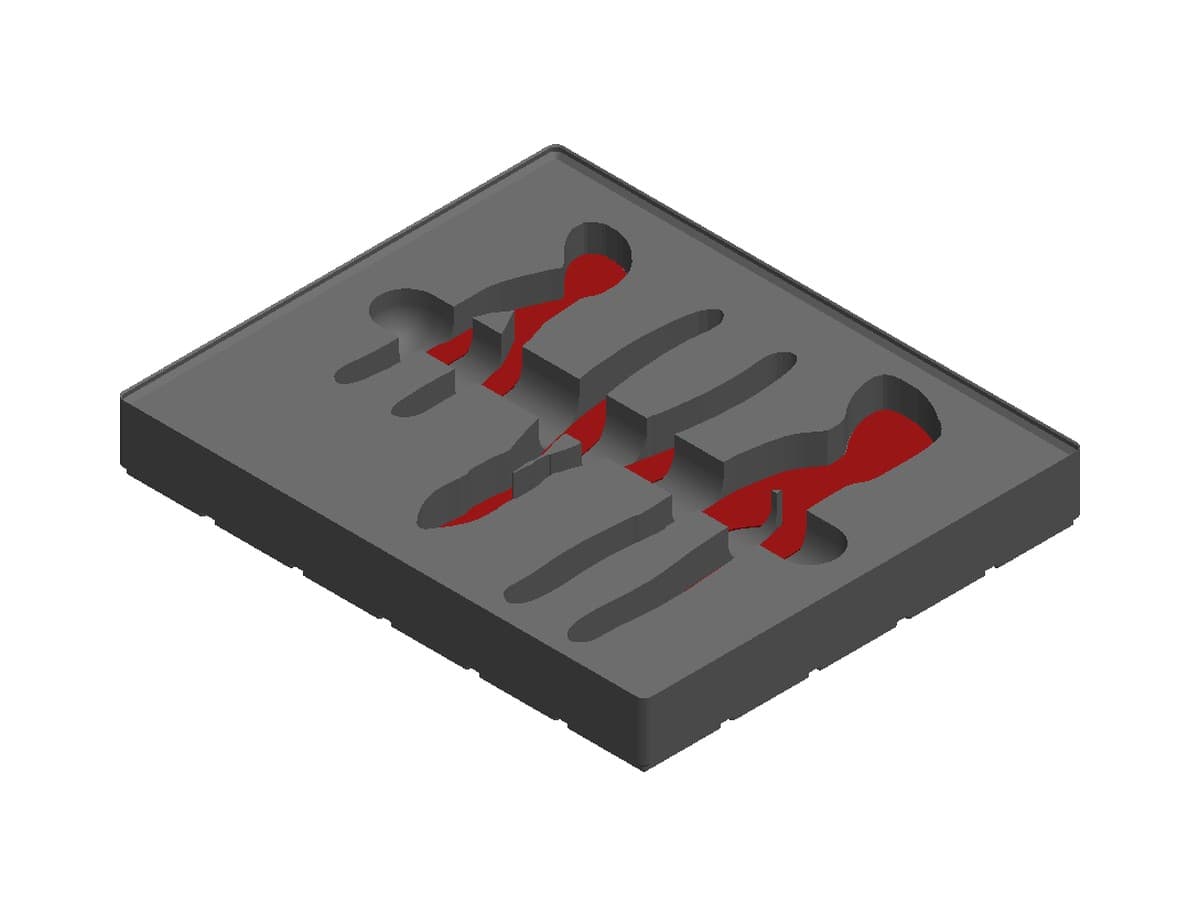
How to design a custom foam drawer insert
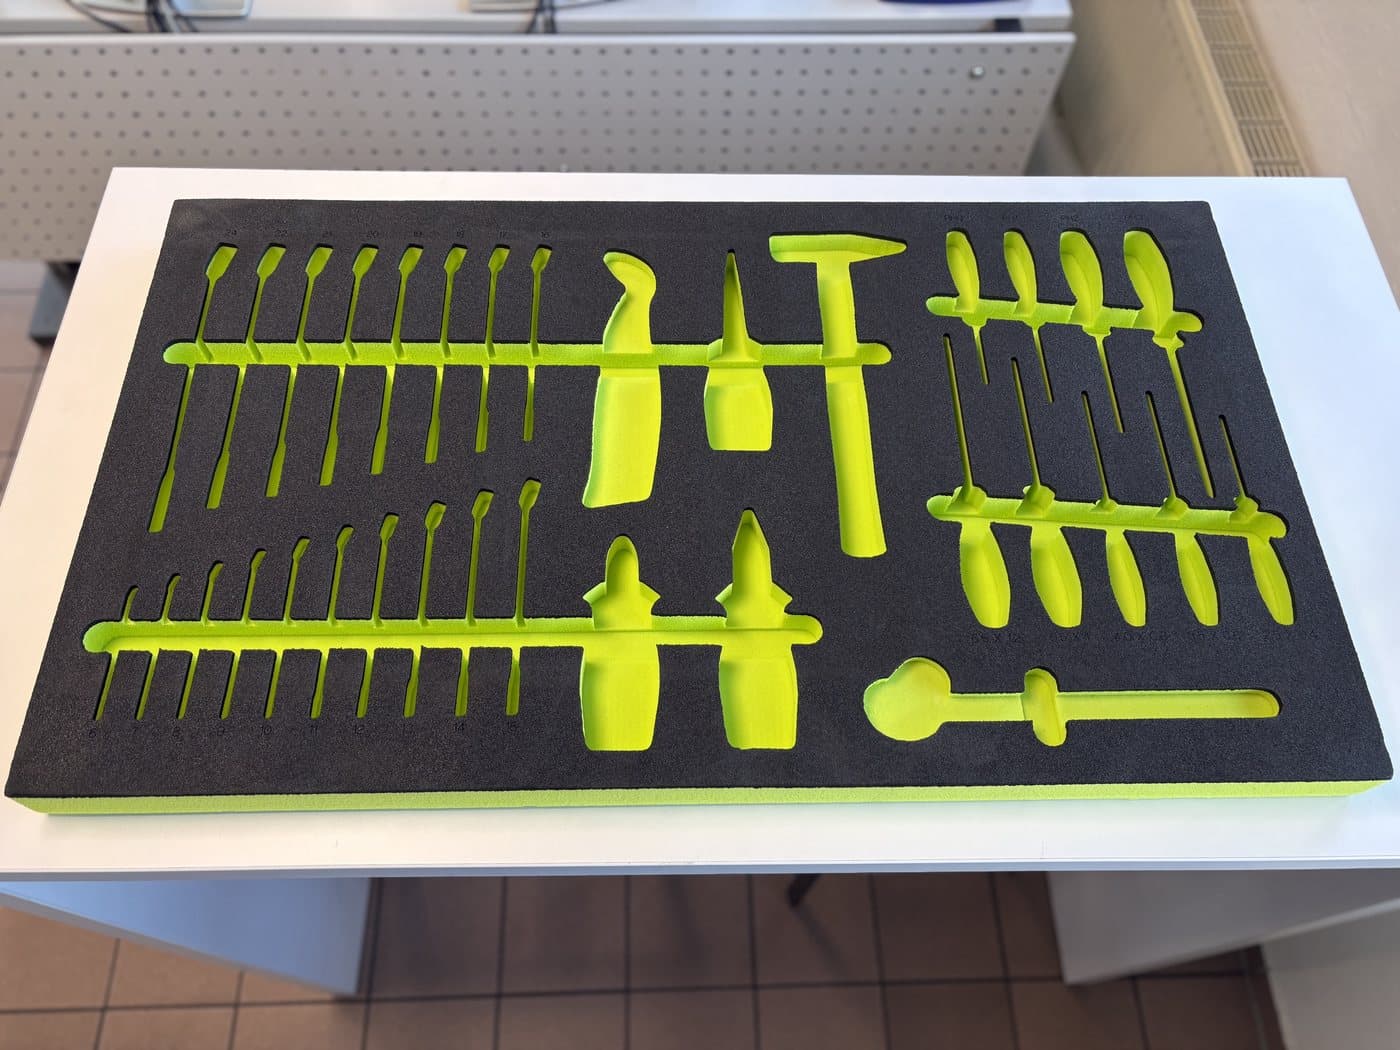
This guide assumes you have already scanned your tools or identified which tools you would like to use from the Lumashape database within the layout editor.
1. Measure the drawer
Measure the inside length and width of the drawer at the floor. Then measure how much height you have, from the drawer floor to the underside of the drawer above it. That height tells you which foam thickness to pick.
2. Create the layout
- Open Workspace and click Create New Layout.
- Give the layout a name.
- Set Insert type to Foam and Layout type to Custom size.
- Under Container Details, choose your units, then enter the Width and Length.
- Choose a Thickness of 1, 2, 3 or 4 inches. Every pocket keeps at least 0.25" of foam underneath it, so your deepest pocket can be the thickness minus 0.25".
- Choose a Foam Color. This is the color that shows at the bottom of each pocket when the tool is out.
- Click Continue To Canvas.
3. Drag your tools in
The Tool Inventory tab on the right shows your tools. Use the dropdown at the top to switch between your scanned tools, your models, basic shapes, and the brands in the public catalog. If your tools are already in the catalog, you don't need to scan them.
Drag each tool onto the canvas. If you have a lot of tools, the search box and the filters help you find the one you want.
4. Arrange them
To line tools up neatly, select several of them and click Group on the toolbar that appears. You can then arrange the group in Rows, Columns, a Matrix, or let Nest pack them tightly. Choose Largest first or Smallest first to sort them by size. With a set of wrenches, that puts them in order from smallest to largest, or the other way round, in one click. The align buttons line the row up along the top, middle or bottom.
If any tool overlaps another or hangs off the edge of the foam, the badge at the top says Layout Invalid. Click it to jump to the problem.
5. Set pocket depths
Click a tool to open its Tool Properties, then set its Depth. Choose Local if the change is just for this layout, or Metadata to change the tool everywhere you use it. The top of the screen shows the deepest pocket in the layout, so you can check it fits your foam thickness.
6. Add finger grips, finger slots and text
Open the Edit Layout tab.
- Finger Grip adds a round cutout beside a tool so your fingers can reach it. Select several tools and then click Finger Grip, or click Finger Grip first and then click a tool.
- Finger Slot cuts a channel. Click where it starts and then where it ends. One slot across a row of wrenches lets you lift any of them out. You can change its depth in Shape Properties.
- Text adds a label. Click Text, then click where you want the label and type it. You can change its size in Text Properties. You can also hover over a tool and click Add Text to label it.
7. Check it in 3D
Click 3D Preview to see the finished insert and turn it around. Click any pocket to see which tool goes there.
8. Download the files or order the insert
Click Save, then choose what you want to do next.
- Download the files. Click the purple diamond and choose Download DXF File or Download STP File.
- Order the insert. Click Add to cart. In your cart, click Submit for Quote and enter your shipping details. You'll get a quote for the finished insert.