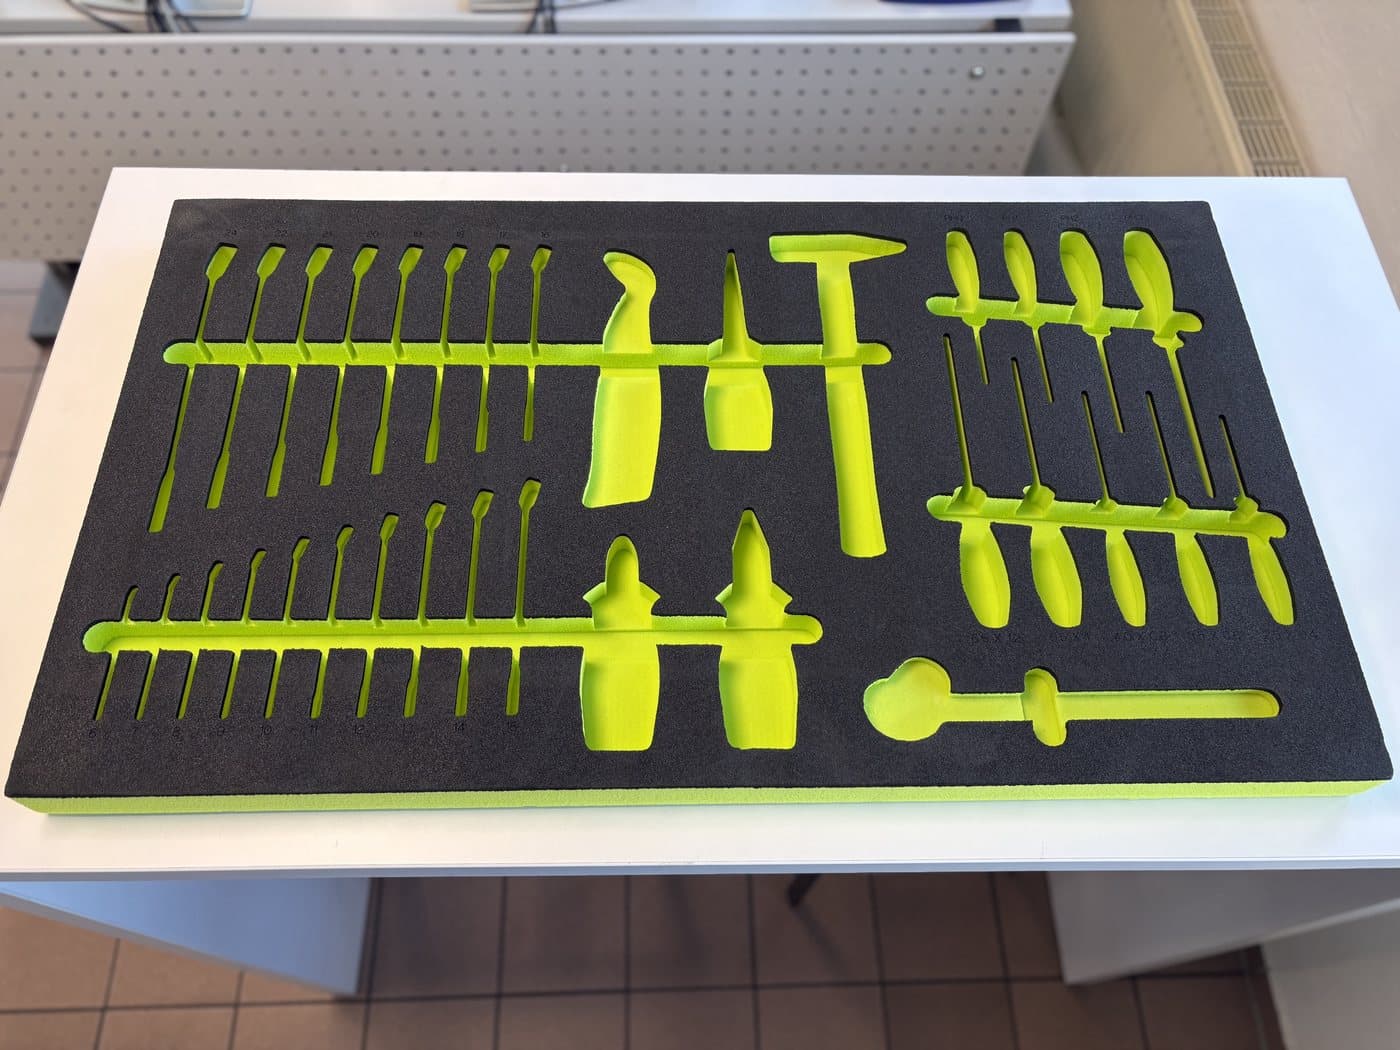
How to design and 3D print a custom Gridfinity bin
This guide assumes you have already scanned your tools or identified which tools you would like to use from the Lumashape database within the layout editor.
1. Create the layout
- Open Workspace and click Create New Layout.
- Give the layout a name and set Insert type to Gridfinity.
- Leave Grid size on Auto and the bin will grow to fit whatever you put in it. If the bin has to fit a particular spot, choose Manual and enter the number of cells across and down, up to 20 each.
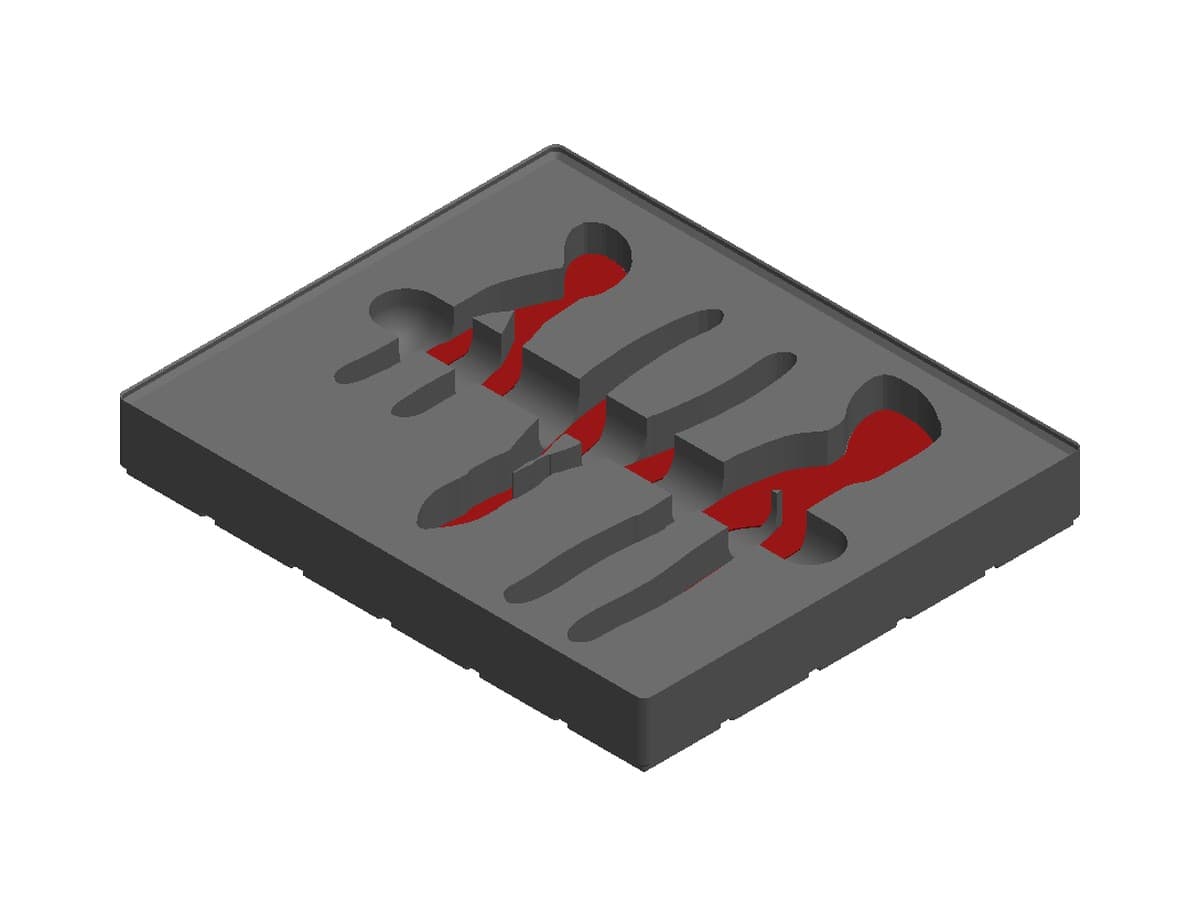
- Choose your units and an Inlay color. The inlay is a thin layer at the bottom of each pocket, printed in a second color, so you can see at a glance when a tool is missing.
- Click Continue To Canvas.
2. Drag in your tools
Drag tools from the Tool Inventory tab onto the grid. With the grid on Auto, the bin resizes each time you drop a tool, so you don't need to plan the size up front.
Click a tool to open its Tool Properties. At the top you'll see Offset, which sets how much space is left around the tool in its pocket.
| Offset | Gap around the tool |
|---|---|
| None | 0 |
| Sm (recommended) | 1/32" (0.8 mm) |
| Med | 1/16" (1.6 mm) |
| Lg | 1/8" (3.2 mm) |
Each tool has its own offset, so you can give one tool more room without changing the others. Below it, set the tool's Depth.
You don't need to set the bin height. Lumashape works it out from your deepest pocket, adds a 1/4" floor, and rounds up to the next Gridfinity unit. The height is shown as something like "4U (1.10in)".
3. Add a finger slot
Open the Edit Layout tab and click Finger Slot. Click where the slot starts and then where it ends. One slot across a row of tools lets you lift any of them out. You can change its depth in Shape Properties.
For a single tool, Finger Grip adds a round cutout beside it instead. Select several tools and then click Finger Grip, or click Finger Grip first and then click a tool.
4. Choose the bin options
The Gridfinity section at the top of the Edit Layout tab has four settings.
- Puzzle pieces shapes the bin around your tools, using only the grid cells it needs. To adjust it, click Edit Cells to add or remove cells, then click Confirm.
- Split for printing cuts a big bin into pieces that fit your printer. Turn it on and enter your print bed size as the Max plate.
- Lip lets the bins stack cleanly. Turn it off if you want a flat top surface.
- Base magnets adds magnet holes under the bin, in the corners or under every cell. If your magnets aren't the standard size, you can change the hole diameter and depth.
5. Check it in 3D
Click 3D Preview to see the bin and the inlays from every side before you print.
6. Download the files
Click Save, then click the purple diamond and choose Download STL File or Download STEP File.
7. Print the bin and inserts
The download has a file for each bin piece and each colored insert. Print the bin pieces, print the inserts in your inlay color, then drop the inserts into the pockets.